
Tuesday, July 10, 2012
Why?
Sunday, April 22, 2012
So, the giraffe would be in the frogged pile if it wasn't for Amber's little girl and the deadline wasn't pressing in on me. The baby shower is next weekend!!!! Amber's been so sweet about being excited about it. She said this giraffe would be one of the few things to come to the hospital when the baby comes, so I gotta get the move on. My biggest hangup has been the eyes. I was sick last weekend, so I took the opportunity to work on it. I decided to forget about my fancy eyes idea and just stick with the pattern. I got myself in trouble because I had decided to make eye sockets just like when I made the t-rex.


 I purchased the ostrich pattern so that I can try the eyes. I'll it soon. In the meantime, I'm making the legs. It's slow going and I have to try and get this done by Friday!!!

Big mistake. I made the sockets sit too high! I tried to pull the stitch out, but it couldn't be undone without cutting a hole in the right side. Now I had a hole to patch. I patched it with yellow yarn, then took that out and tried patching with brown and making that into one of the brown spots that will be on the giraffe anyway. Nope. Looked like a black eye. Then I thought about just covering it with an eye. . . Couldn't make it work. When I decided to go back on pattern and make the eyes the way it said to, I sewed them high to cover that hole. The result looked good in real life, so I took a picture.

The picture showed me that the eyes were too high. It also highlighted how messy the points of light looked. I kind of shot myself in the foot with the muzzle too. When I was in the process of making the muzzle, I decided it would look smoother if I made the color transition before the end so it wouldn't be so abrupt.

The end result wasn't as clean as I wanted. The line ended up uneven and jagged. I also fixed it so the original eyelids from the pattern wouldn't work anymore because they are meant to be the same color as the muzzle and just blend into it.
So! I took the muzzle off and completed it in brown all the way. I took off the eyes and cut out the white points of light. Then I took the most risky step yet. I pulled on a string from the hole in the head and took off the top of her head. (Side note, it would be cool someday to make a stuffed animal with a head that unzips so you can take out or at least see its brains. Ha!) I tried repairing it without a trace, but now there is a huge seam where the hole was.

It's just going to have to be good enough. I don't have the time to start over from scratch. Below is a pic of the eyes from the original pattern without the points of light. They look better sitting lower. I made a set of purple eyelids and a set of brown, but neither look right.

Wednesday, March 7, 2012
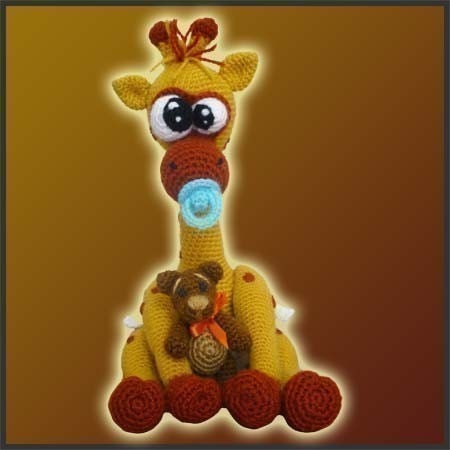
Just a reminder of what I'm aiming for. I'm all done with the body and now am working on the eyes. I want my giraffe's eyes to not be so googley, so I'm taking some different turns. First, remembering what I did for the T-Rex, I created eye sockets.

Next, I changed how I created the eyes themselves. In the original giraffe pattern, the eyes are supposed to be a white ball with a black circle sewn on. I opted for starting my eye ball with 2 rows of black and switching to white. I had problems with that black, too. I could not see where the stitches started and ended. My solution, use the flash light on my phone. I hung it over the ledge of my laptop and that really bright LED flash let me finally see what the heck I was doing.
This is what the eyes looked like at first. I know I pointed this out with the T-Rex, but I'm gonna say it again, these eyes are void of any emotion or feeling at all. The black needs smoothing out.


Gasp! I think I know how she did these eyes!!! I don't think I need the eye sockets after all. . . . I want to say more about all of this, but I don't want to give away her secrets. Buy her patterns, people!! If for no other reason, you learn so much from them!!
This is a visual wish list of the patterns I want to eventually get from her.


That's a start. I'm sure there are tons more. She really is a genius.
Update:
After many tries and re-tries, I finished an eye last night. I had to go with a double row of chain stitches around the pupil, and I'm not sure I'm sold completely on the dark brown color, but it's a completed eye! I'm thinking I'll make the other eye a light brown color and see how I like that, but for now, here it is:

Those are pins around the eye. I haven't sewn it on just yet since I'm still not sure if I like it. I might want to lower the eyes and move them in a little more, too. One thing I learned from my cartoon drawing days: Eye placement is everything. She also won't look so scared once I put an eyelid on her.
Sunday, February 26, 2012
Delicious Crochet Strikes Again
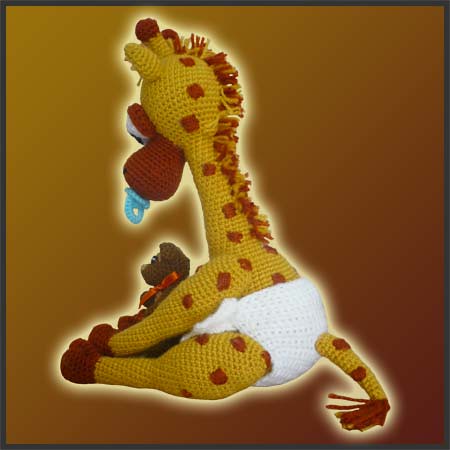
This time, it's for my sis in law. She's having a baby girl, so I showed her the DeliciousCrochet page and had her choose. My hope was that she would go for the pony b/c that's what I've secretly planning my next project to be, but no, alas. . . She chose the Baby Giraffe instead. This is what the finished product is supposed to look like:


I am thinking of making some changes, tho. As cute as the eyes are here in this photo, I've seen some major disasters on Ravelry that give me pause. I've decided to fall back on what I learned from the T-Rex pattern and try to produce eyes that look more like her Olga Ostrich pattern:
I like the idea of starting the black pupil in the actual ball itself, instead of making an all white eye and stitching a black circle on afterwards. Okay, this is the best I can do to see how these eyes would look on the giraffe:


Much better!!! I like Delicious Crochet because of her eyes. Well, not HER eyes. I don't know what she looks like for real, (I imagine she's Hispanic in coloring, just chunky enough to give her curvy sass, and about my age) I like her crocheted eyes. She just knows how to make eyes look good. Secret: embroidery stitch. Pretty cool.
I am also thinking of adding three rows of ruffles to the back side of the diaper for a feminine touch. I'll use the ruffles from this pattern:

I am also thinking of adding three rows of ruffles to the back side of the diaper for a feminine touch. I'll use the ruffles from this pattern:
Intended Changes to Giraffe: eyes, purple eyelids with a black line and popcorn stitch to mimic eyelashes, pink pacifier instead of blue, ruffles on the back of the diaper, different colored bear (pink and white?), stitch bear to one of the hooves so it won't get lost.
Progress so far (2/21-3/2)


Tuesday, July 27, 2010
T-Rex Pattern
I chose this pattern for the eyes, so most of these photos center around the best pattern for eyes I've ever seen. The skull:
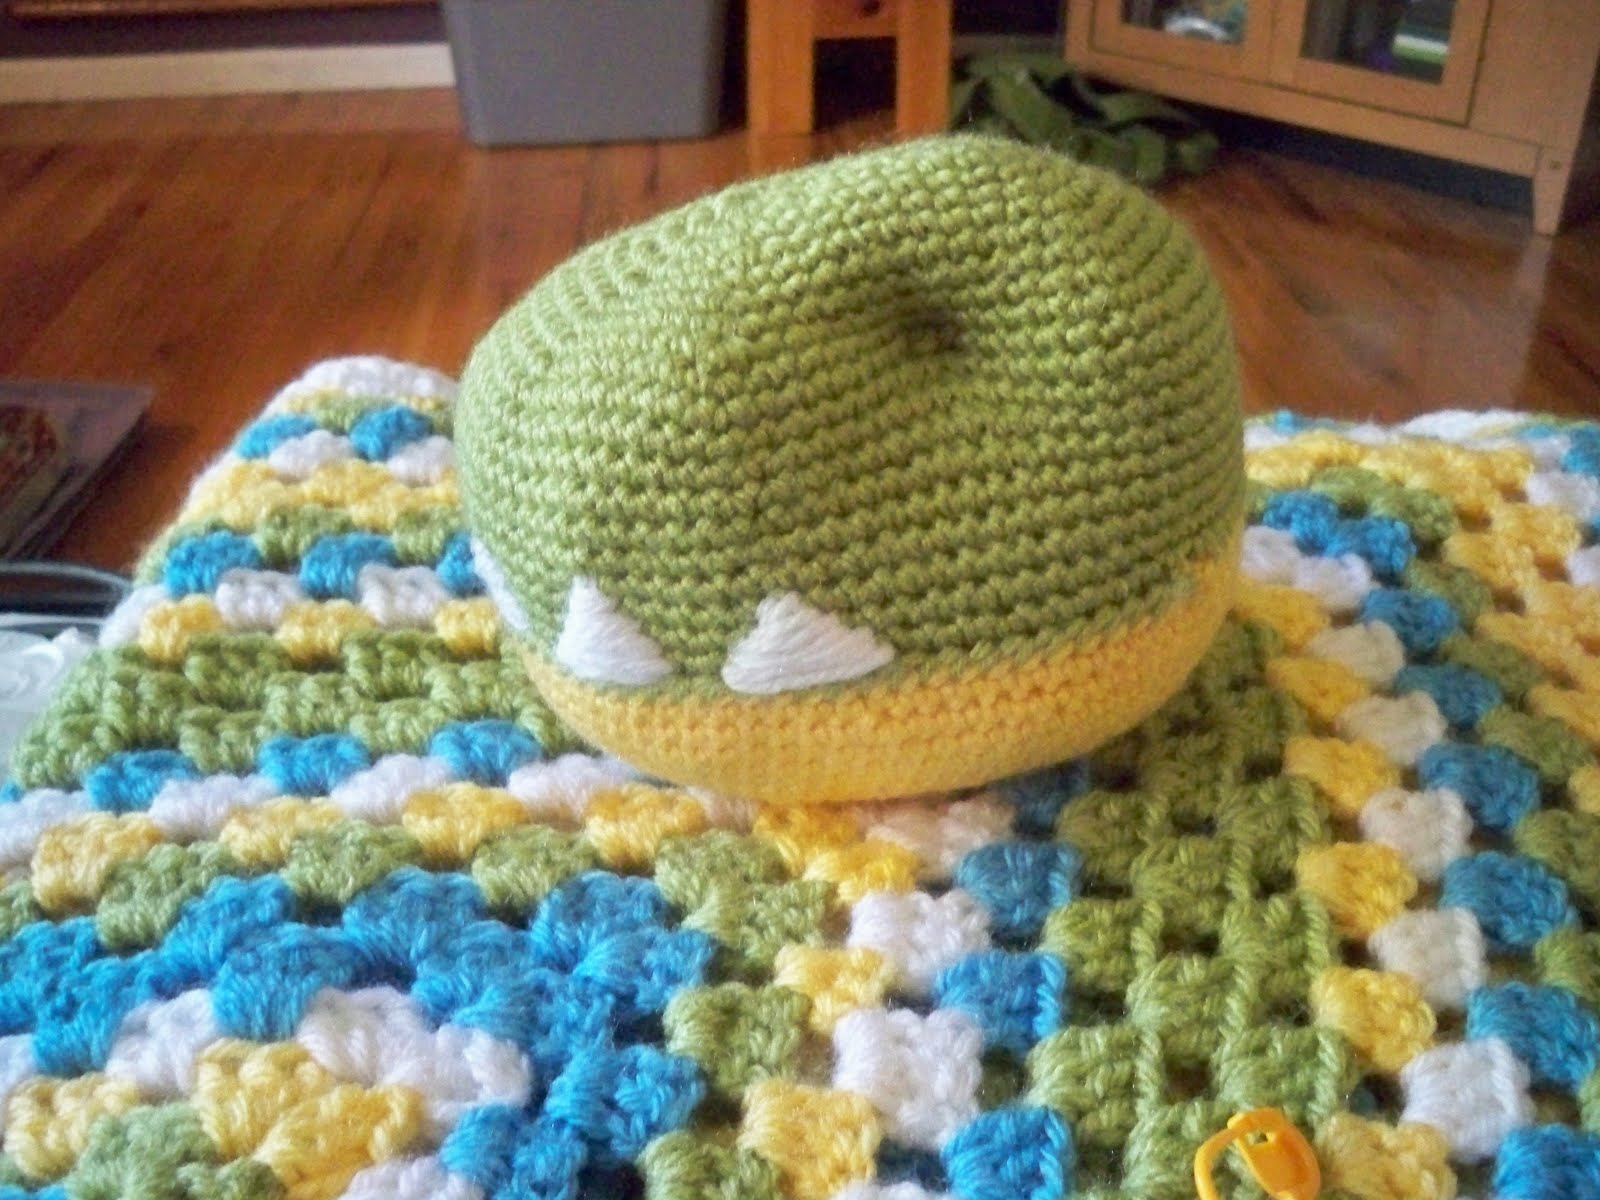
Okay, I'm gonna stop here and explain why I don't like crocheted eyes. See those unclean lines? I think they take away from the emotional expression in what eyes should look like.

The answer? Chain stitch an eye color around the rough edges! BRILLIANT!!

Add points of light:

Continue stitching in the round, creating an eyeball. . .


And you've got the perfect child safe eyes for a crocheted animal.

I'm planning on using this practice again in the future. It's a beautiful thing.

Wednesday, July 1, 2009

So I'm suddenly super excited about this new pattern I found. Thanks to the magic of Twitter (my newest obsession), I have been able to follow the posts of Jocelyn Sass, a crochet designer from New York. She posted a link to the tutorial to this interesting pattern. It's not put together the way I thought it would be. Check it out! Looks like Mom has a new Christmas present on the way!
Saturday, June 20, 2009
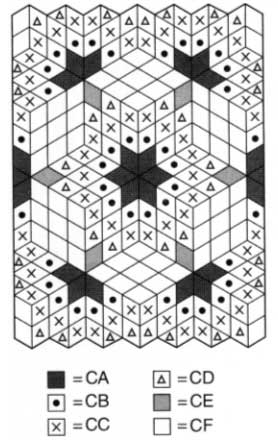
Prairie Star Crochet
Okay, so far one of my most enjoyable projects has been the Prairie Star pattern. I saw this in a book at Michael's on Thanksgiving Day and knew I wanted to make it for my parents for Christmas. (See? Learning the lesson. Big projects like this either brings in bigtime cash or stays in the family!) I would have bought the whole book for that one pattern, but it was Christmas time and I was broke. Besides, I knew if you dig hard enough on the internet, you can find just about anything for free :)
The project itself took me about 26 days, but that was me spending hours upon hours on it each day. I had to, I was on a limited time schedule. The very last bit of it had me up until 5:30 Christmas morning. Each diamond took me around 10 to 15 minutes to make, sometimes shorter or longer depending on how tired or motivated I was. What did I decide? There are in the somewhere in the neighborhood of 225 diamonds in this pattern. Each diamond consists of three rows, the first two rows are made independently and the third row is crocheted into the blanket. This was great for me b/c after making Kelsey's blanket, I got really tired of making piles of blocks and then going back to stitch them together. This project just moves along quite swimmingly if you ask me.
I have one change to the pattern included in the link above:
On the First Motif, Round 1. In the ring, I do the following stitches (ch1, sc, hdc, dc, tr, ch3, tr, dc, hdc, sc, sc, hdc, dc, tr, ch3, tr, dc, hdc, sc). I added the extra two sc on the end of each side b/c the way it's written doesn't allow the next row to have six dc stitches on both sides of the diamond.
And now for my pictures :)


Note about the yarn I used. The pictures were taken on my camera phone, so you can't really tell, but the tips of the star are Cranberry from the Vanna Collection. All of the yarn used was already in my possession at the time I decided to make this afghan. The brown and white were the giant balls of extra cheap Wal-mart yarn. The brown was a little scratchy for my taste, but the white actually turned out quite soft and lacy. The gold and both blues were a nice yarn that I got on super blowout clearance from Michael's months before. I was so proud of that purchase, too. Each ball was 50 cents! The problem came into view towards the end when I realized I didn't have enough of the light blue to continue the pattern. After much deliberation and searching Hobby Lobby and Micheal's for something that would work as a substitute, I ended up changing the pattern a bit and I think it turned out alright. My anal retentive side still doesn't like that it doesn't all remain symmetrical, but what can you do?
Subscribe to:
Posts (Atom)